
So I had one hour to myself last night. ONE HOUR. Instead of wallowing in nail pity – when you look down at your hands and think “I’m so sorry guys, you look terrible and it’s all my fault” – I decided to do something about it. I had just enough time to do this speedy and fabulous manicure, making my nails party ready. To create champagne nails all you need is your favorite go-to pink shade and some glittery polish for the tips. I used Zoya “Sari” and Ciate “Antique Brooch” but I found the exact same glitter polish in the stash I have for my daughter called “Gilded Rose” by Maybelline (available at Target). THERE IS STILL TIME TO GET PRETTY NAILS LADIES!
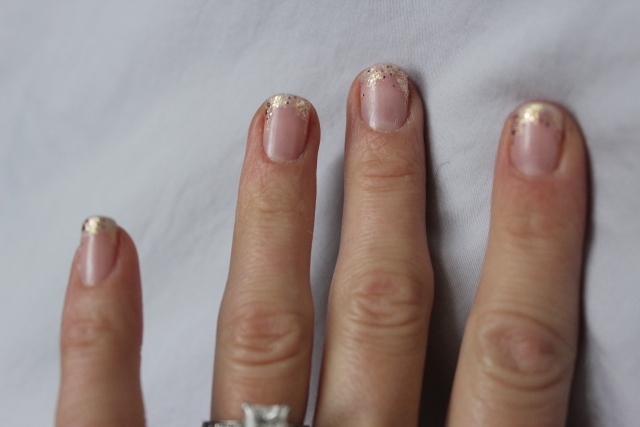
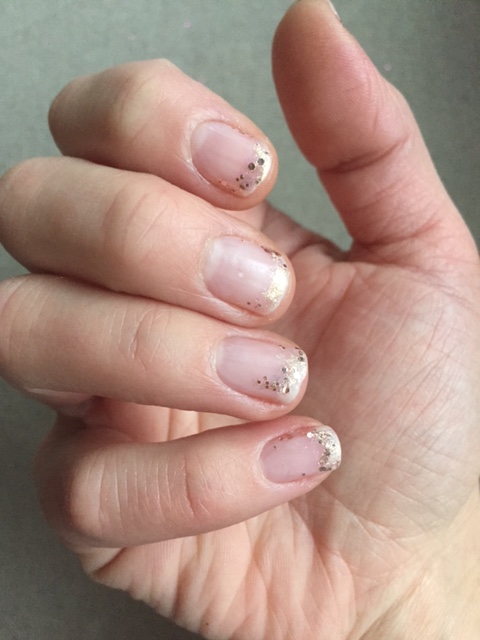
This manicure is super easy and basically mistake prove since the glitter is pretty forgiving. Start by doing 2 coats of the pink shade. A lighter pink works best, especially one a little translucent. Mistakes show up less with a light shade and if you are anything like me you need an “easy” color to apply. Once dry, add glitter to the tips by brushing slowly across entire top of nail and come down a little further at edges. Add a clear top coat if desired. Voila! Your nails will look like little glasses of champagne.
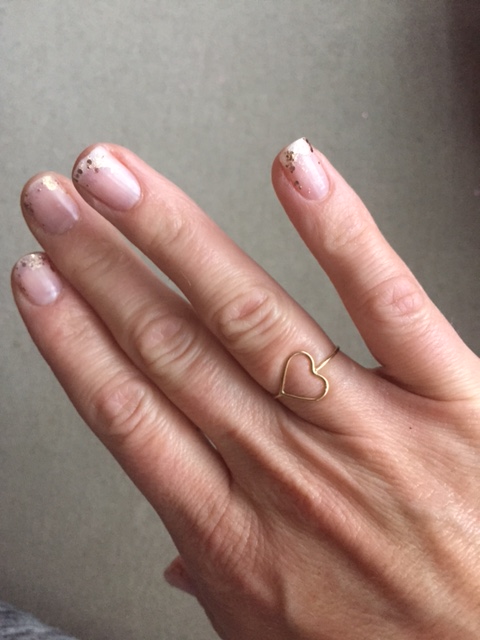
This polish will be good for a week at least. The glitter hides any chips in the tips, and you can go over tips as needed to add more sparkle. And P.S. how cute is my new heart ring? It was a last minute Christmas present I bought for myself from Irina Victoria Jewelry. I absolutely love the delicate (yet budget friendly) pieces. Cheers and Happy New Year everyone! XO
One thought on “Champagne Nails”
Comments are closed.