
A few days ago, I was extremely happy and excited to learn that my wonderful Instagram friend, Morgan of Lilies + Lambs nominated me for the Blogger Recognition Award. Read More

A few days ago, I was extremely happy and excited to learn that my wonderful Instagram friend, Morgan of Lilies + Lambs nominated me for the Blogger Recognition Award. Read More
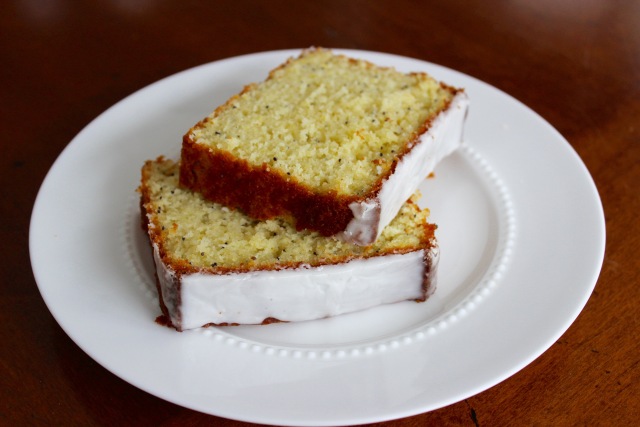
It’s the end of February and I am dreaming of blue skies, flower petals, and warmer days. But a snowstorm hit and I’m inside. If you can’t will sunny days to magically appear, you can make lemony, citrusy cake to make you feel bright and happy.Read More
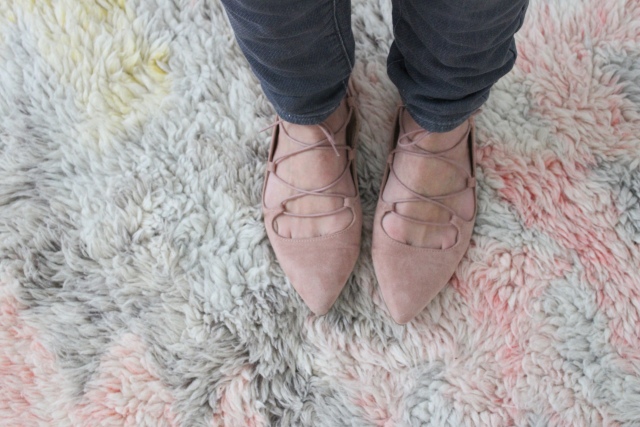
A good pair of flats is a hands-down must have in your wardrobe. This season’s strappy pointed toe version takes the everyday flat to a new, perfectly detailed level. I found my go to pairs from Nordstrom and DSW, both under $60 and ridiculously comfortable.Read More

I’m pretty sure you are going to Target at some point this weekend, so pick up a few of these bad boys girls while you’re there.
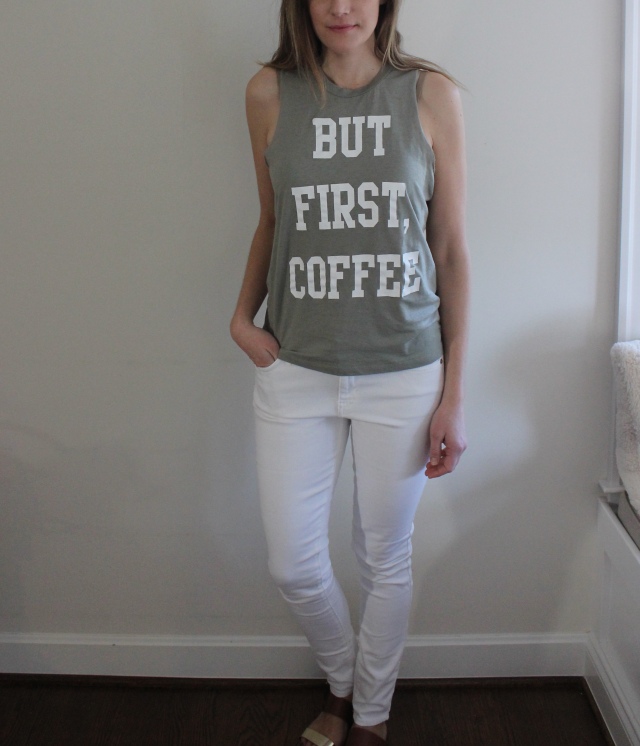

They are by Fifth Sun and Chin Up Apparel. All feel and look luxe.
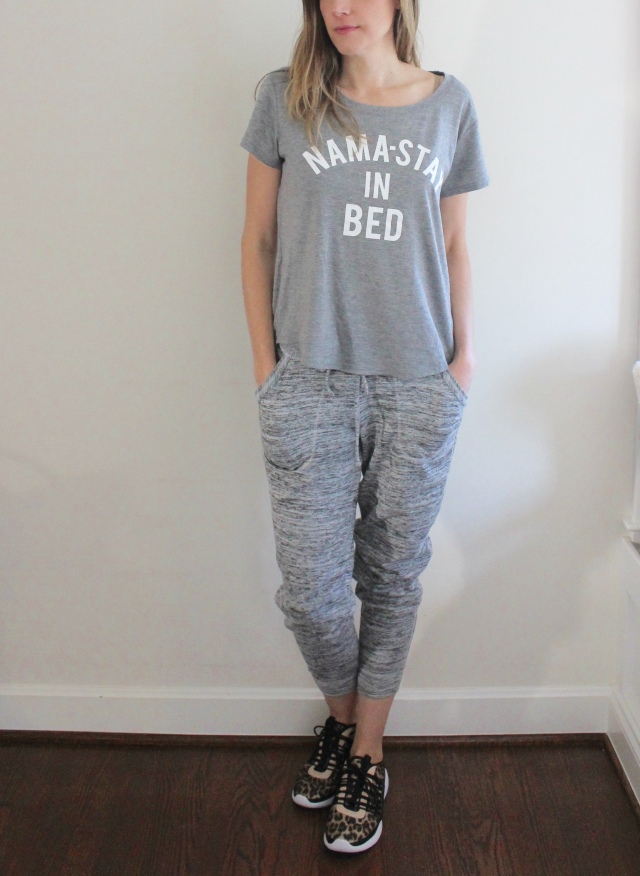
[I even styled bed head for the shoot…]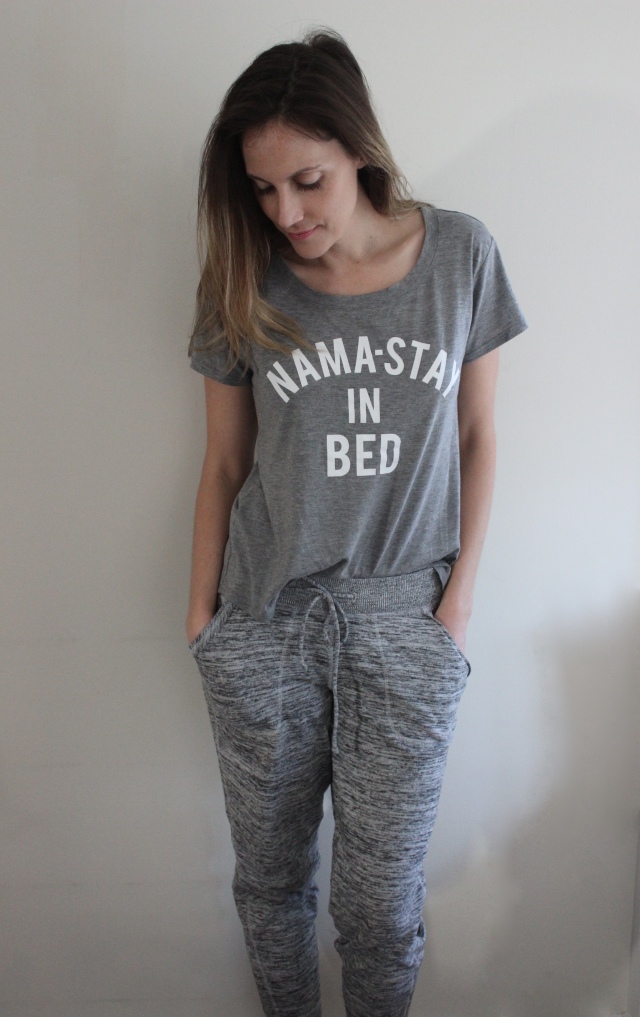

These super soft graphic tees are perfect for errands, working out, yoga, lounging, sleeping – ANYTHING. At $12.99 each (or cheaper if you catch them on sale), they are affordable.
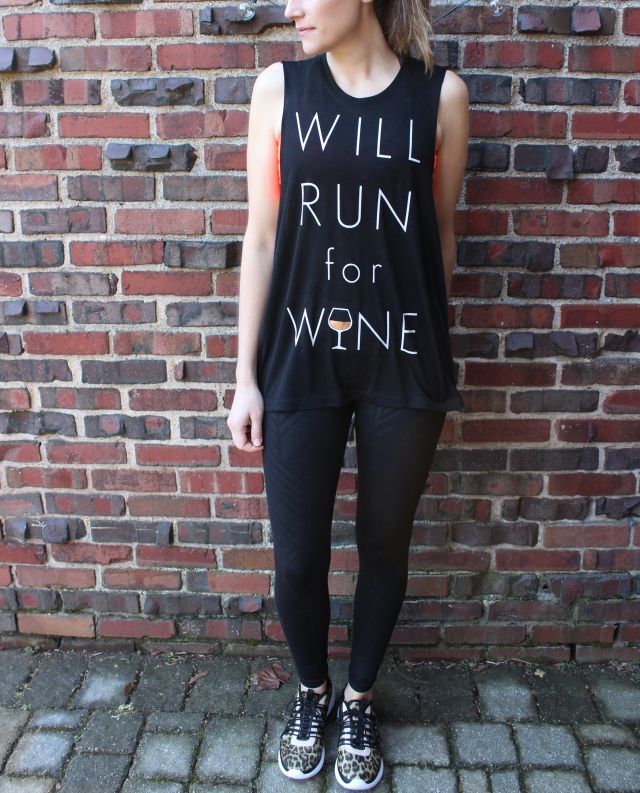
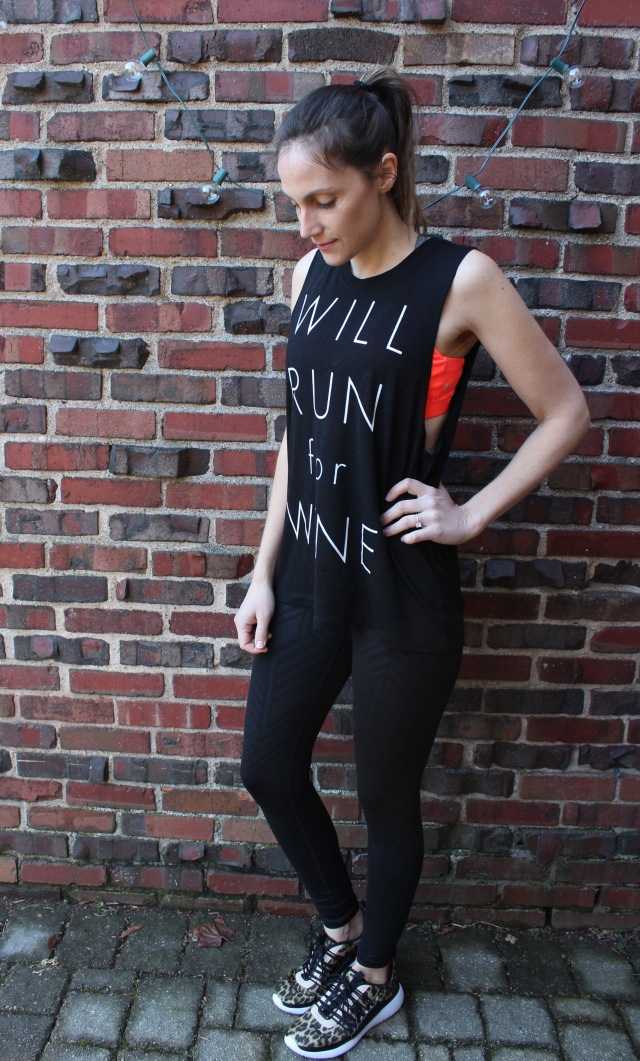
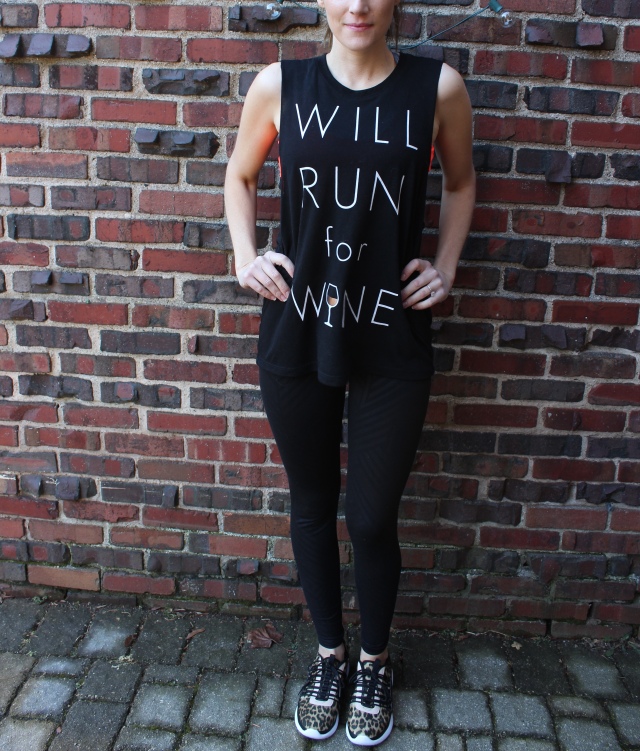
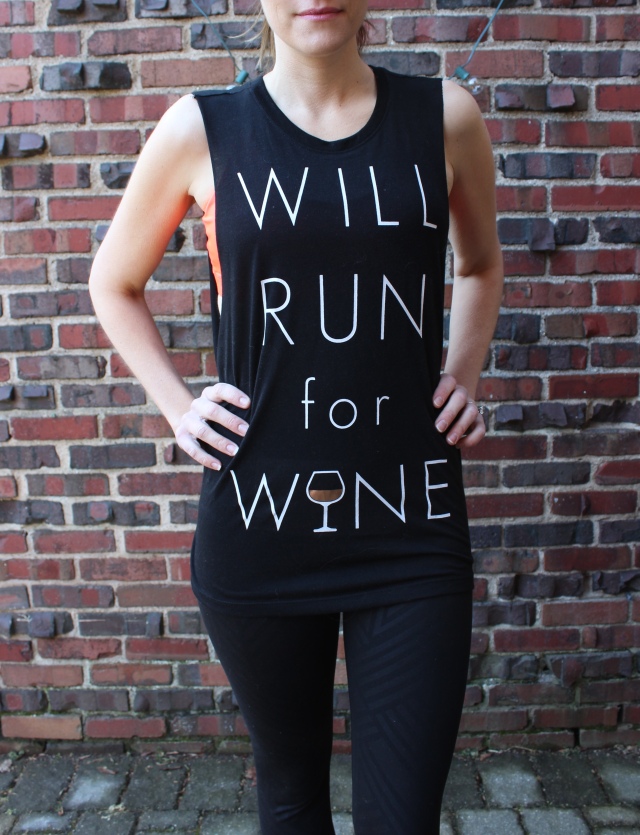
Yes, I do run for wine. I couldn’t decide between all the cute pun-tastic tees, so of course I bought several. I’m sorry not sorry because they are so soft and wearable. I can put them with jeans, leggings, shorts and best of all, pajama bottoms.
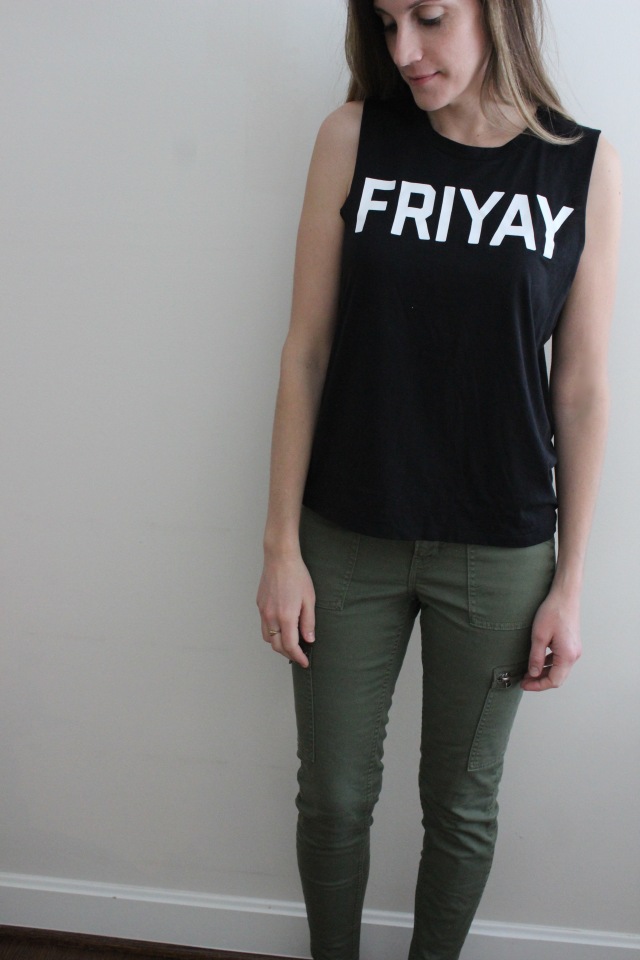
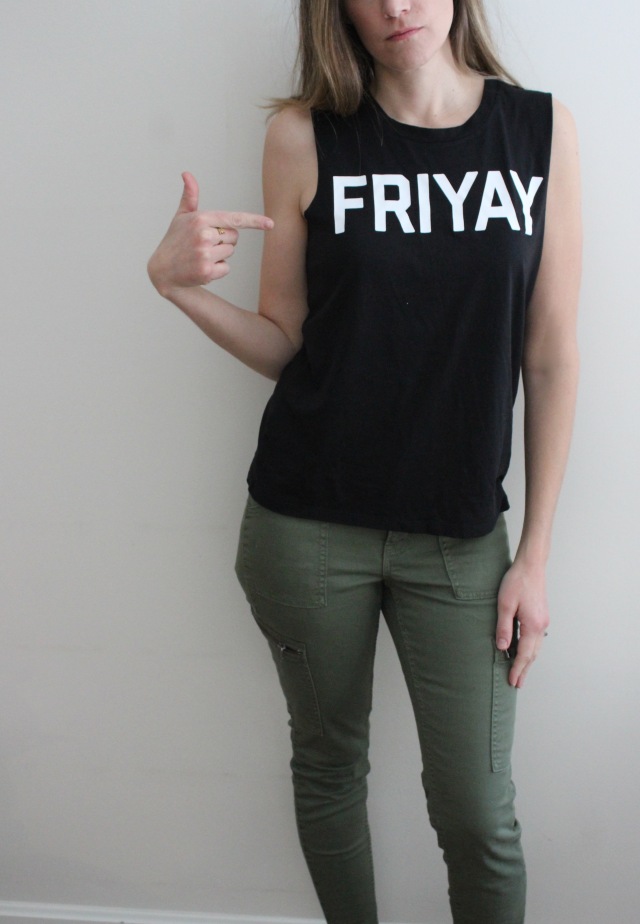
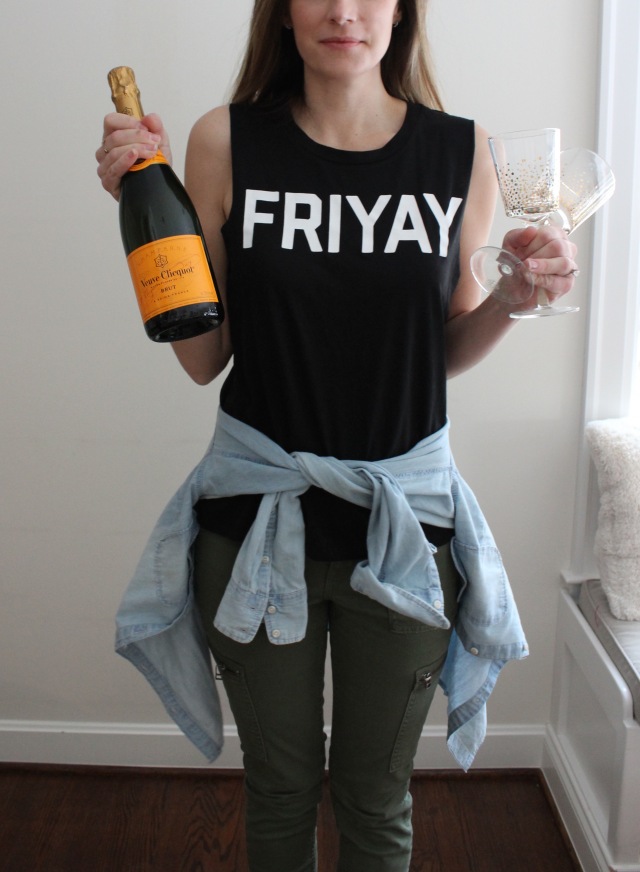
I hope you fall in love with these tees as much as I have! Happy Weekend friends!
But First, Coffee // Nama-stay In Bed // Will Run For Wine // Friyay
White Skinny Jeans // Joggers // Compression Leggings // Skinny Cargos
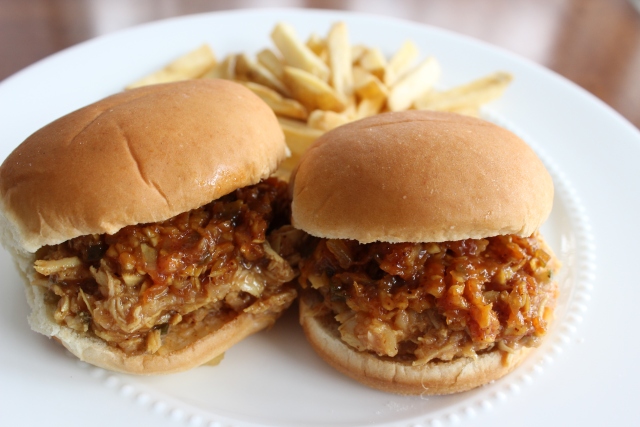
As a child, my family traveled often to Muskegon, a smallish town on the Western coast of Michigan. An absolute must was a stop at US-31 BBQ. It is a tiny restaurant with a very memorable, delicious relish sauce that gets poured over smoked ham and pork. I decided to give it a try on pulled chicken and just as I thought, it is incredible.
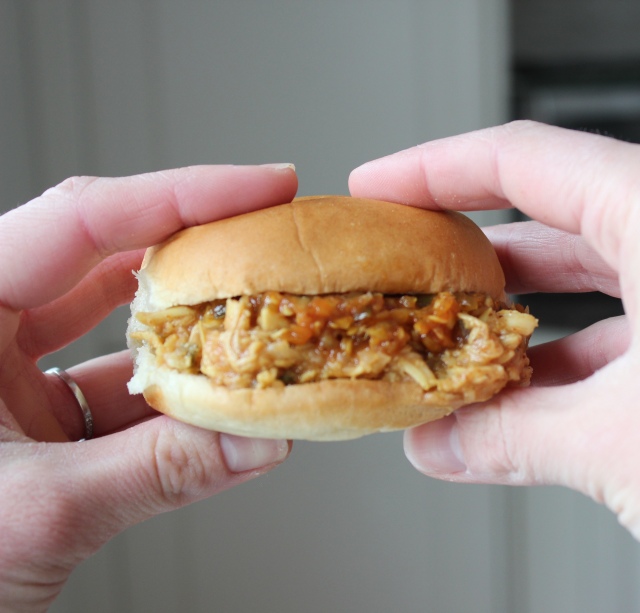
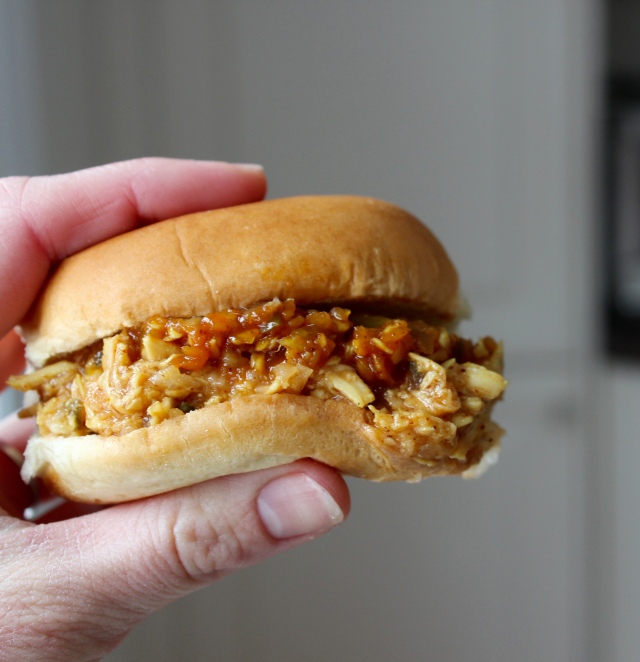
A friend recently told me you can (and should) put chicken breasts in a slow cooker and heat on low for about 4 hours. The result is juicy chicken with minimal effort. It shreds well and is a base for so many options – enchiladas, chicken salad, pulled chicken sandwiches, etc. This was a life-changing discovery. Gone are the days where I dry out chicken.
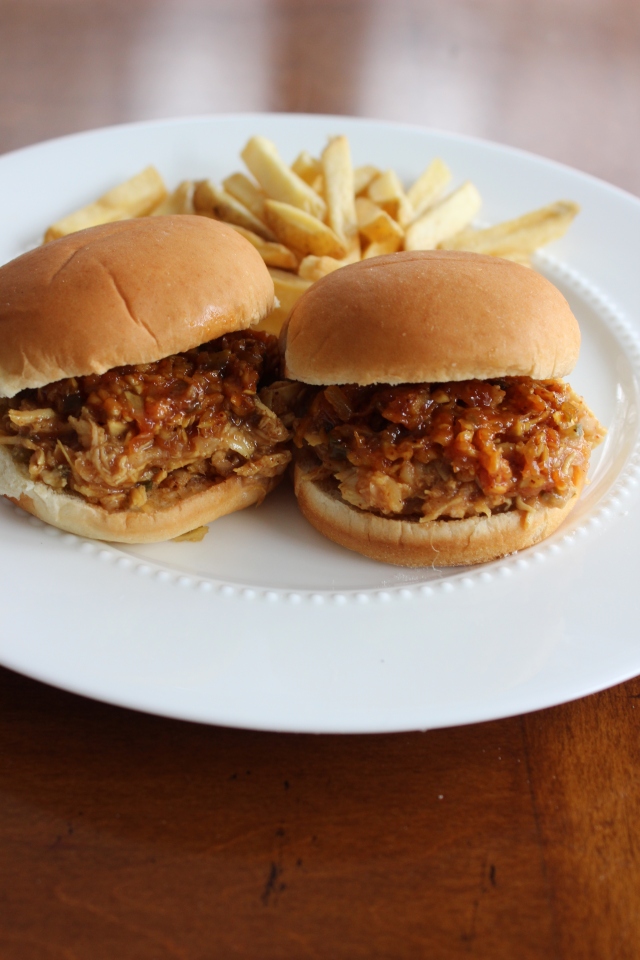

This recipe may seem absolutely ridiculous because it mixes every basic condiment, but I tell you it is magical and amazing. Just take my word and give it a try. If you ever find yourself around Muskegon, Michigan, go directly to US-31 BBQ and try the real thing.
Pulled Chicken Sandwiches with Relish Sauce
Ingredients
Combine ingredients in a medium saucepan and heat to a boil, then reduce to a simmer for 30-40 minutes. At this point, you can place sauce in an airtight container and store in refrigerator for up to a week.
To make sandwiches, place chicken breasts in slow cooker and heat on low for 4 hours. Once cooked through, remove breasts (allow to cool slightly) and shred. If there is a lot of juice left in the slow cooker, remove a little so relish sauce does not get too thin. Replace shredded chicken and add 1 cup of relish sauce. Heat on low for at least 30 minutes, but can leave on warm until ready to use.
Heat remaining relish sauce on stovetop to warm through. Place about 1/4 cup to 1/2 cup of shredded chicken on each slider bun. Top with additional relish sauce and serve warm.
Variation: Use thinly sliced deli ham instead of chicken, warm slightly, and top with relish sauce. Use rotisserie chicken instead of cooking chicken yourself for a super quick meal. You can use just about any meat.
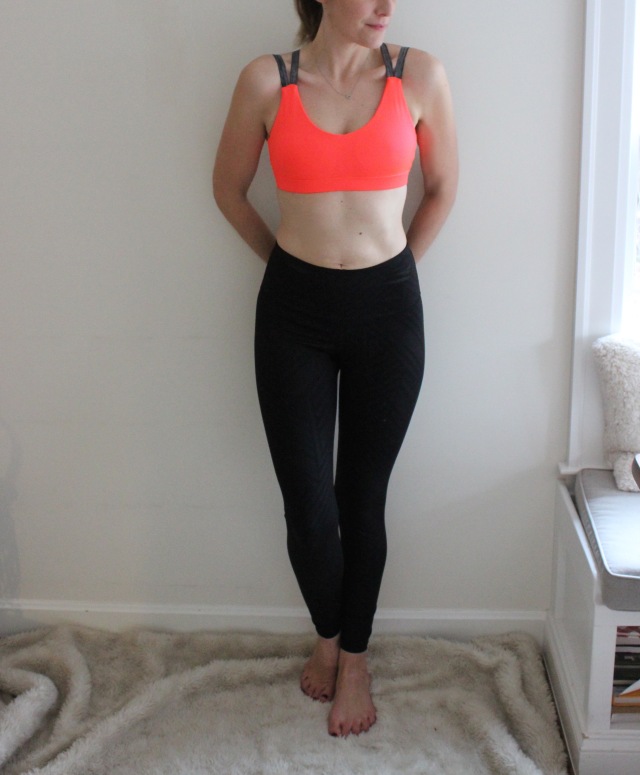
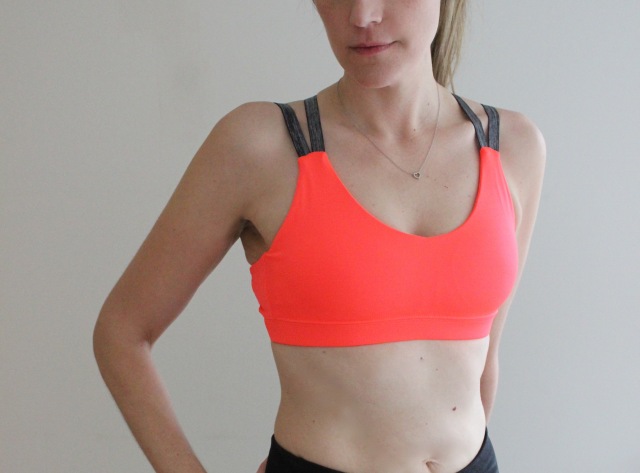
I recently published a post about all the workout tops that have given me plenty of motivation to get through a work out. I have to make an addition. This sports bra is both comfortable and cute and I wish I could wear it for every single yoga class.
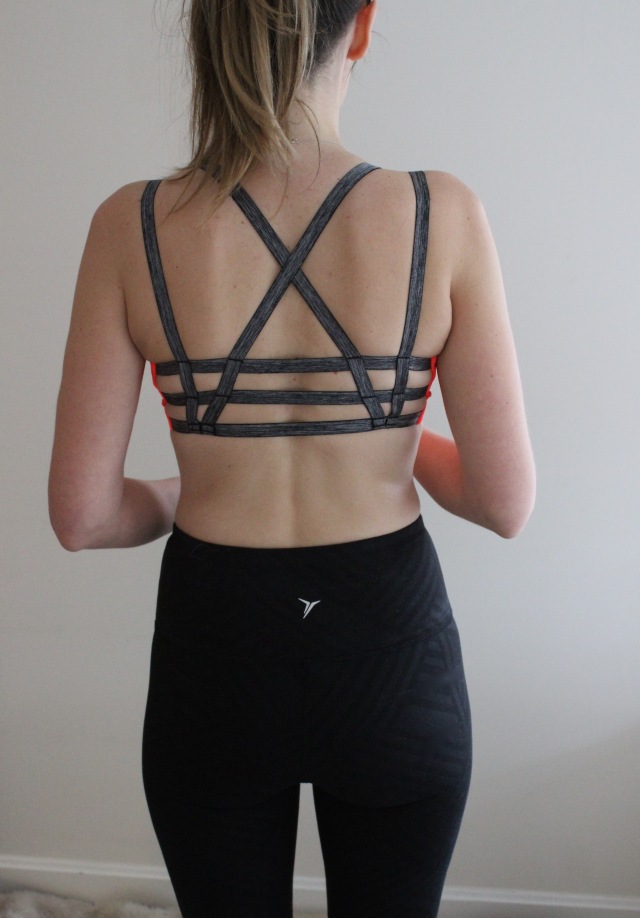
Before last month, I had not bought any new work out clothes in a long time because I hadn’t worked out in a long time. A good friend asked me to try barre classes, and now we are on to trying a yoga studio so I needed to refresh what was in my drawers from before my first child. Seriously.
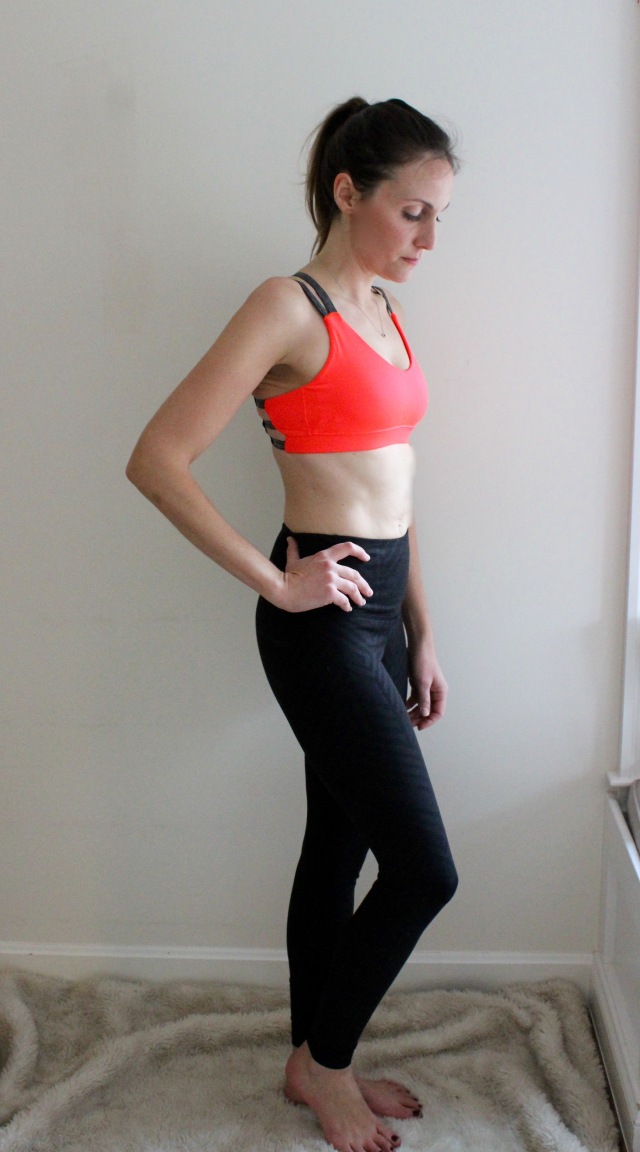
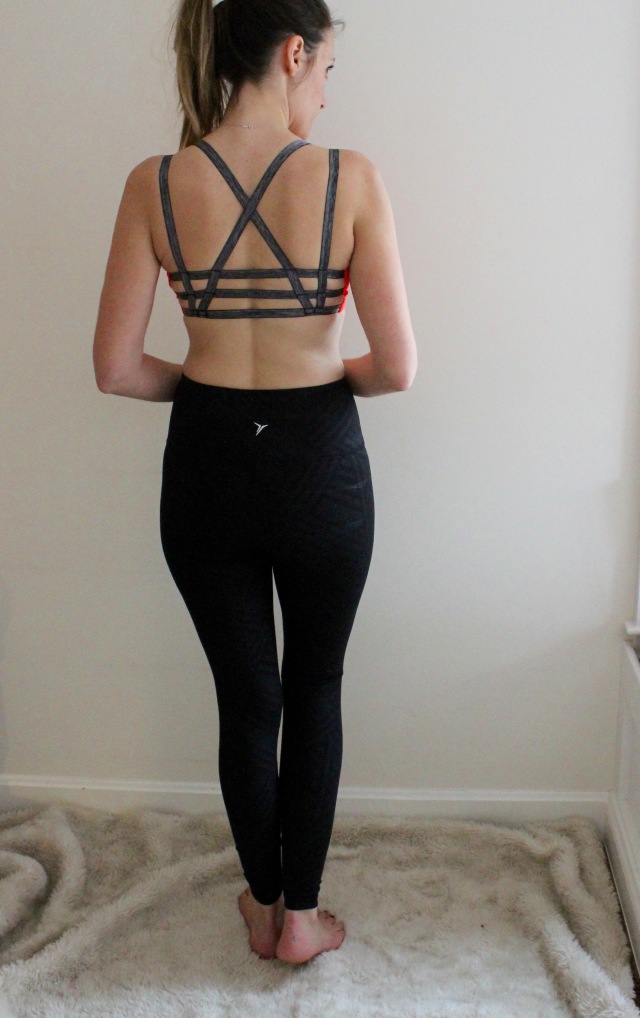
This sports bra comes in two colors, and the back is so fun and looks great with any racerback workout top. It’s also under $15. And yay! My favorite workout leggings are back in stock at Old Navy. They have an awesome geometric print to make basic black so much more interesting. Links to all below.
Sports Bra // Black and Gray Sports Bra // Geometric Print Leggings // Favorite Leggings (Tights)
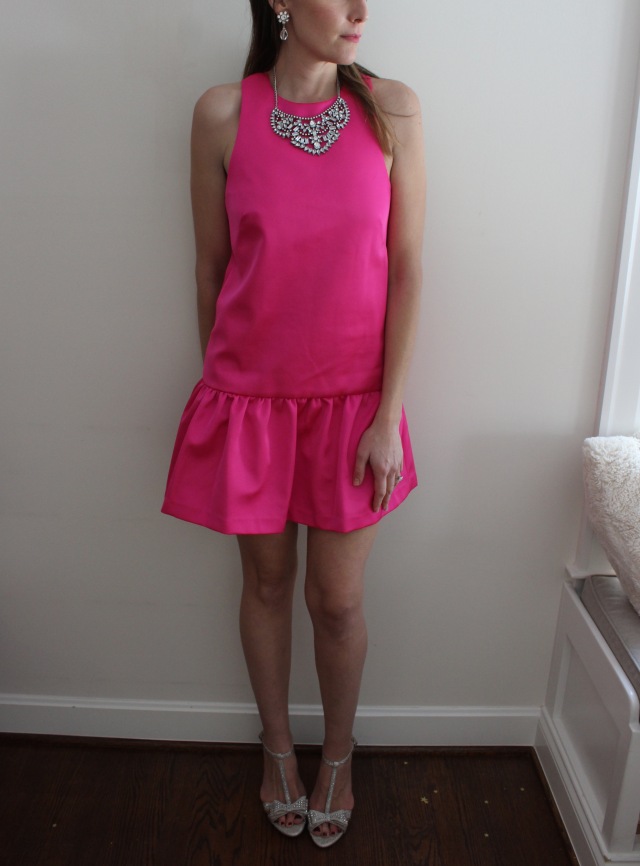
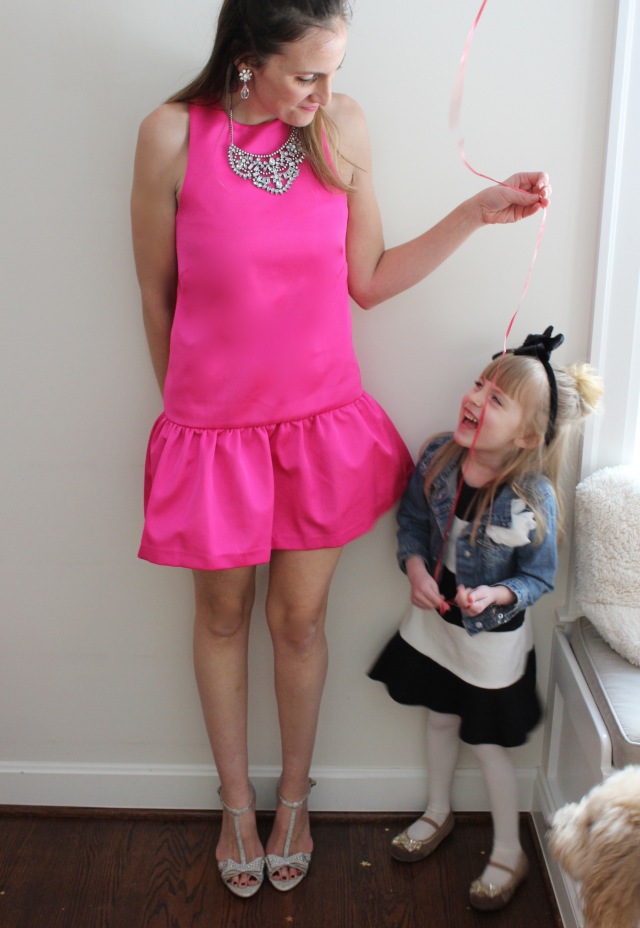
When you find a dress you love, and the problem is you don’t have an upcoming event, you buy it anyway. You put it in your closet and dream of somewhere to wear it and hope it comes true. Or, you have a tea party in your home and wear it. I am a fantastic problem solver.
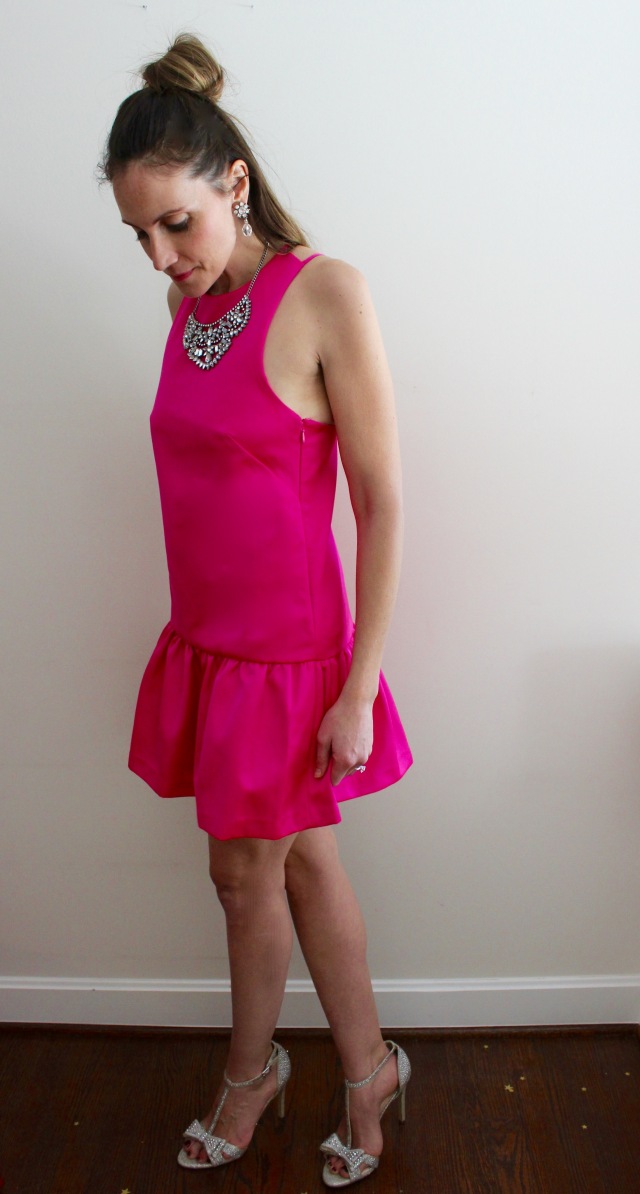
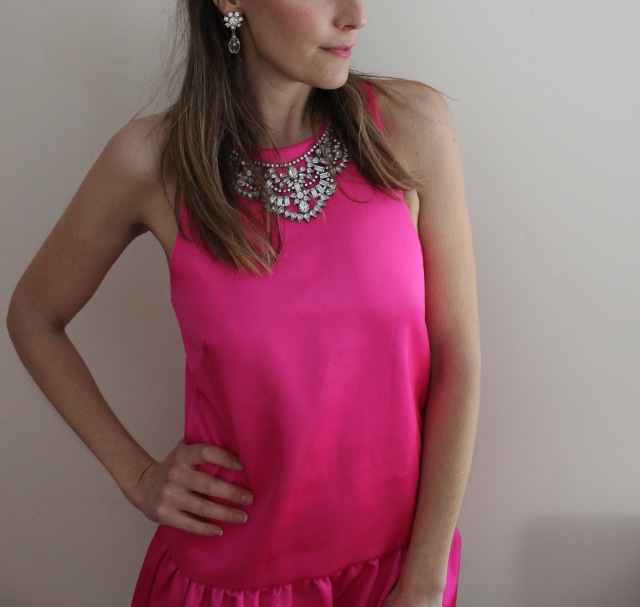
If you are wondering what the gold is on the floor, it’s confetti. My shoes are blingy and so are my floors. It’s how I roll on holidays. My daughter and I had a Valentine’s tea party and spared no decorative expense.

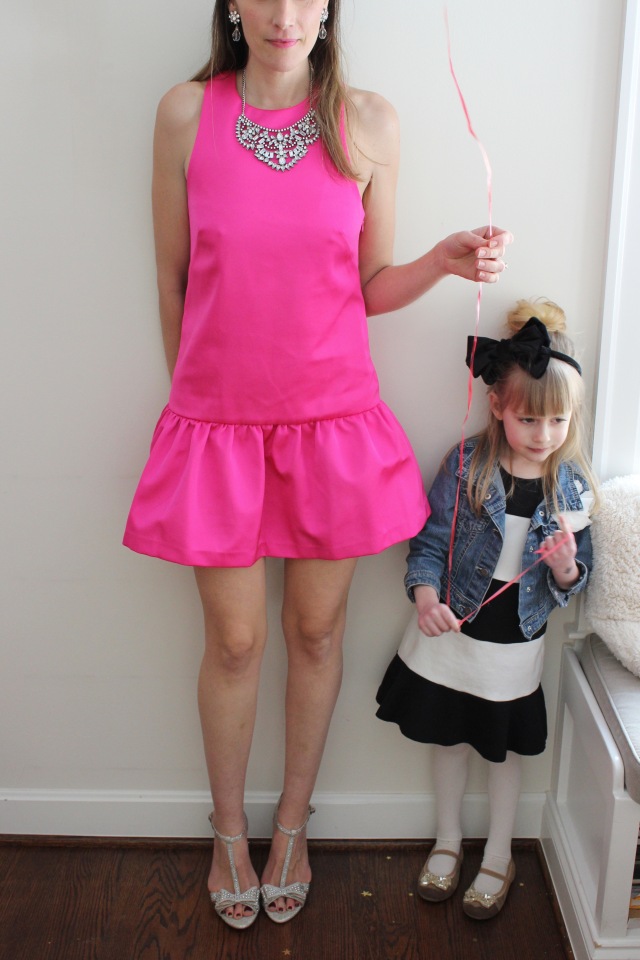
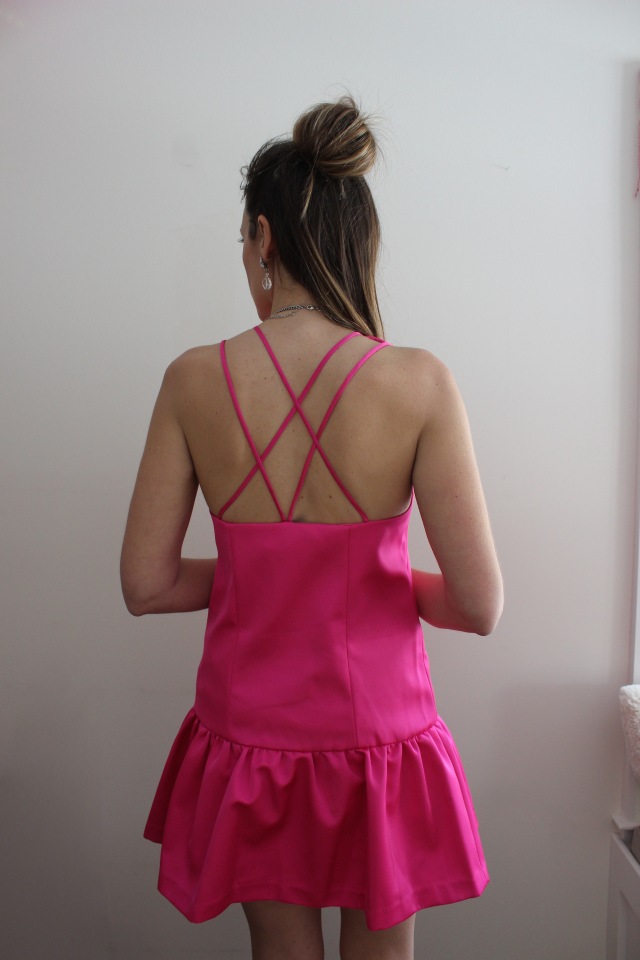
Check out the back of the dress detail. Love the criss cross straps.
This dress is perfect for a bridal or baby shower, date night, girls night out, bachelorette party, or again (just to reiterate) a party in your home on a whim. Below I paired with black shoes and even red. Just match the cutest pair of red shoes you can find with a pretty little red bag and you have an adorable and unique color combination.
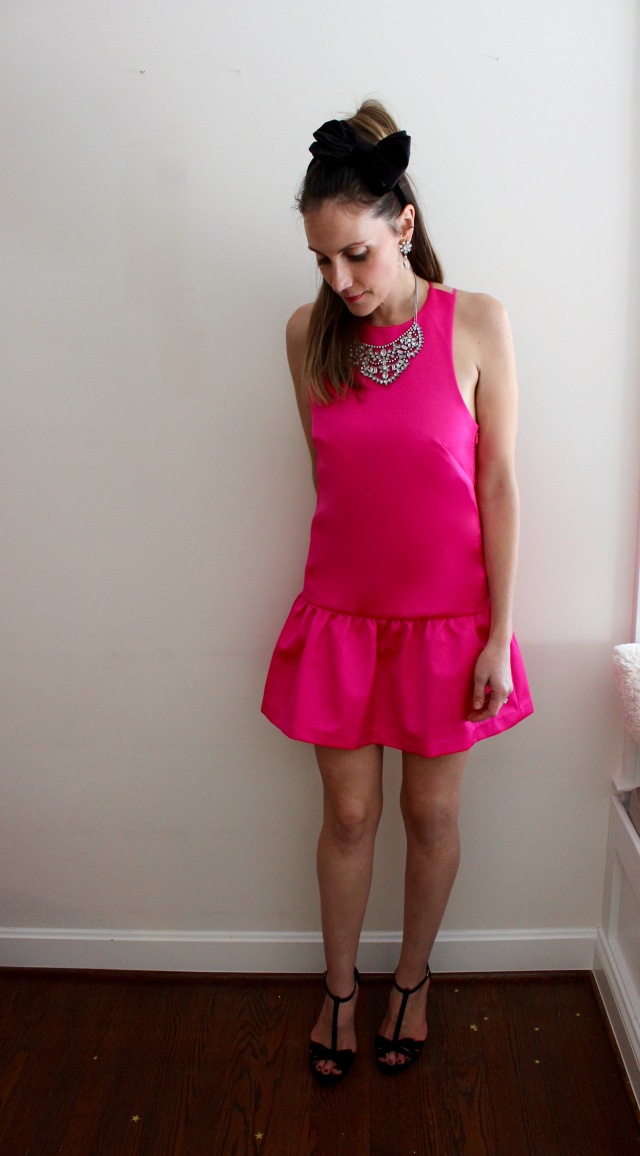
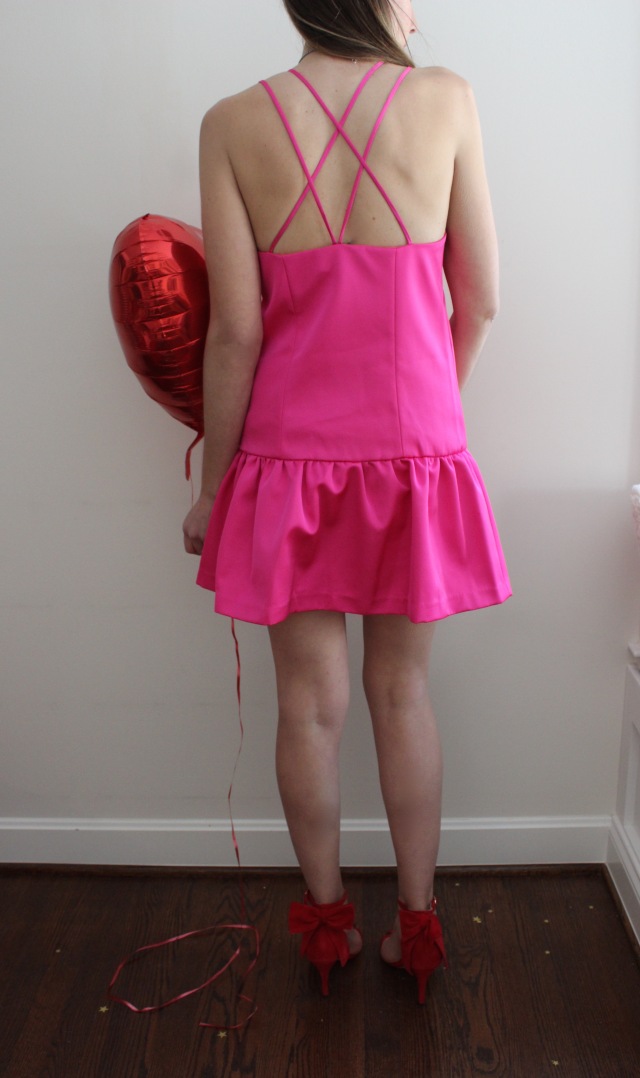
I might add this dress is under $50.
Pink Dress // Blingy Shoes // Necklace (similar) // Earrings (similar)
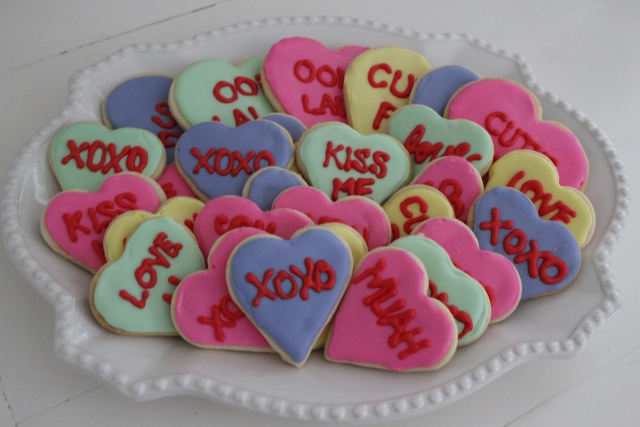
If you are in the baking mood and want to get in touch with your artistic side, these cookies are both fun and challenging to create. While the actual mixing and roll out portion is super easy, the decorating is more of a mindful practice. My cookies are in no way perfect, but I enjoy the process and love making them my own.

I know we all have a basic sugar cookie recipe, but this one is my favorite because of several reasons – it is super simple, you have baked cookies in no time at all, and they taste the best with the kind of soft texture I require of a sugar cookie. No crunchy cookies in my house.

I like to use a mix of almond and vanilla extract in the dough. I love the flavor of vanilla and can’t be without it in a sweet confection. I use almond because the icing has almond as well, and they compliment each other. If you like a certain flavor, by all means use it instead. These cookies can be your blank canvas to experiment on.


The best part of this dough is it does not have to chill. You can make and bake with no time in between – which is great for people such as myself who cannot wait to eat a cookie once they’ve started the process. I have a chocolate chip cookie recipe that requires DAYS between making and baking and its basically torture (if it weren’t for the cookie dough I sneak in the mean time).

So whether you want to eat a great sugar cookie, to test out your cookie icing skills, or need a gift for someone sweet, this cookie recipe is something fun to try.
Roll Out Sugar Cookies
Ingredients:
Cream together butter and confectioners’ sugar in a large bowl. Add egg and flavorings, blending well. With a sifter on top of your large bowl, sift in flour, baking powder and salt, then mix until ingredients are just incorporated. You will know when the dough is ready by touching it – the dough shouldn’t really stick to your fingers. If dough is too sticky, add more flour. Let dough sit for 5 minutes.
Preheat oven to 400 degrees. On a lightly floured surface, roll out dough to about 1/4 inch thick and cut with heart shaped cutters (any size works – I used small and medium). Place on silpat lined cookie sheets and bake for 7-8 minutes, being careful not to let brown. I take them out when they look completely dry, but have no browning whatsoever.
Icing:
Stir extracts into water. Using a whisk attachment on a stand mixer, slowly mix confectioners’s sugar and meringue powder. Add water and extracts slowly, with mixer on low. Once incorporated, whisk on medium-high for about 2-4 minutes, or until thick, fluffy and glossy. Icing should form a soft peak.
Separate icing evenly into four bowls (or into 5 if you want to do another color). Add pink food color to one, purple to another, green to another and yellow to the fourth. Since I used small amounts of frosting, only a little coloring was needed – so start with just a tiny bit, adding more until you get the color you want.
Here is an amazing trick for getting colors into piping bags. For each color icing, I place about 3 tablespoons into piping bag and pipe an outline around each cookie. Then you fill the outline with about 2 teaspoons matching icing and smooth to edge with an offset spatula. If your icing seems to thick, you can add a touch of water (works best with a spray bottle until you get proper flooding consistency). The flood icing stops at the outline, and dries smooth and flat. Place cookies by a fan to dry if you want them extra glossy. Let cookies dry for about 2 hours before piping any lettering.
To pipe lettering, dye leftover pink or leftover white frosting red. Use trick for piping bag above, and use #2 wilton tip to write phrases on cookies. Take your time and don’t get frustrated! It takes patience and practice. By the last cookie, I’m sure you will feel like a pro.
Depending on cookie cutter sizes used, this recipe makes about 2 to 2 1/2 dozen. Can be doubled.
food coloring // Wilton tips // icing bags // heart cookie cutters // Silpat // off-set spatula
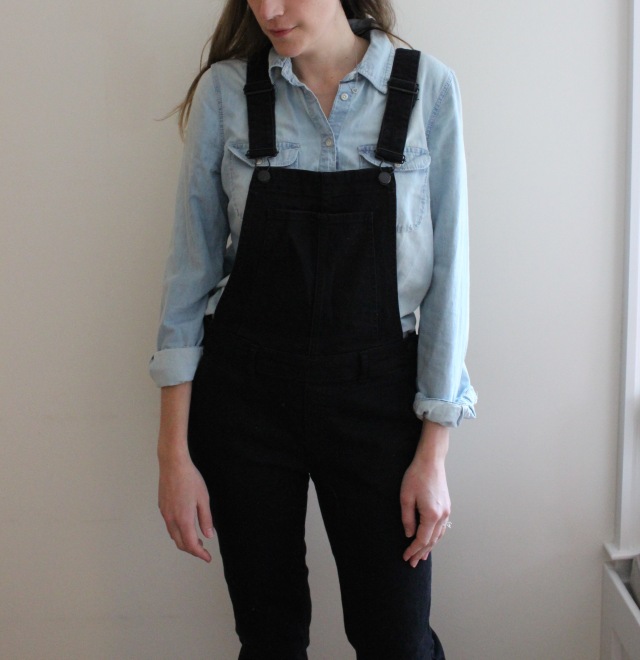
I have always loved overalls for their comfort and simplicity, and I’m so happy they are back on trend. I wore them as a small child and again in high school, but took a break for many years until I saw them popping up everywhere. I can vividly remember the pair I bought in high school – a medium denim by Oshkosh B’Gosh, very farmer-esk, and I LOVED them. This pair is from H&M and couldn’t be more comfortable while being more feminine and fitted than previous overall incarnations.
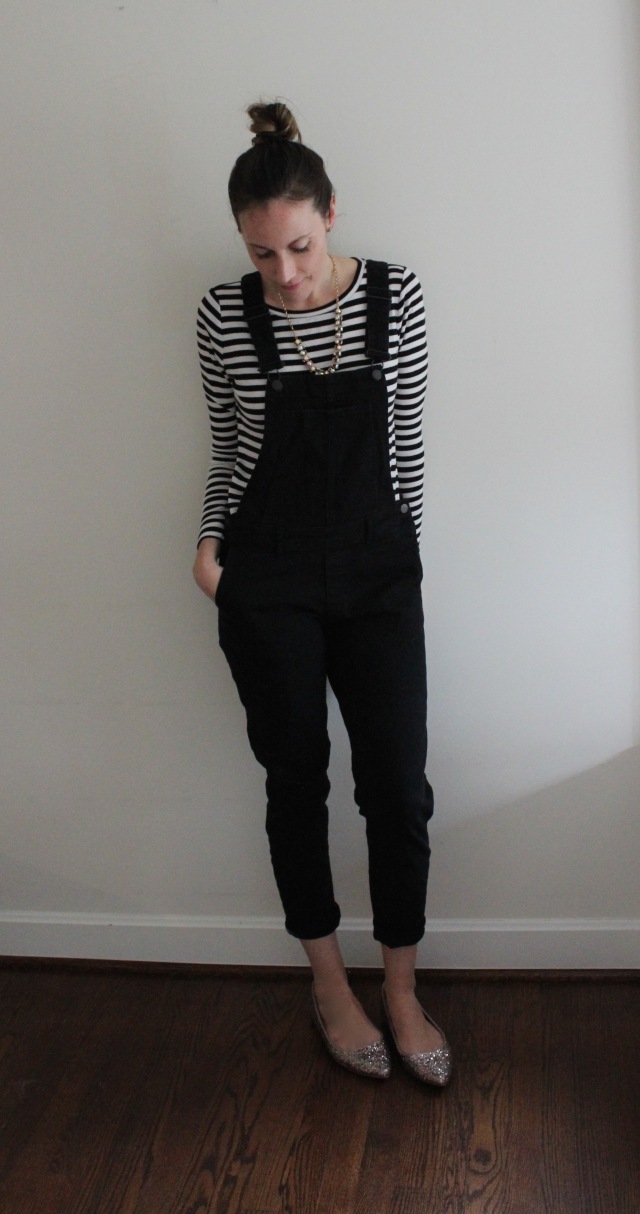
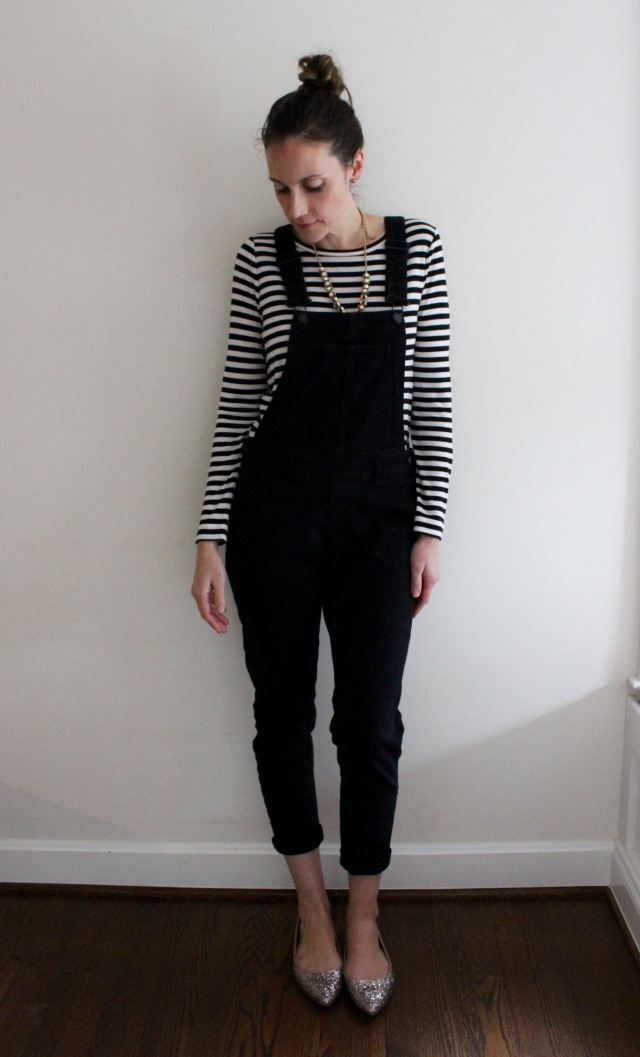
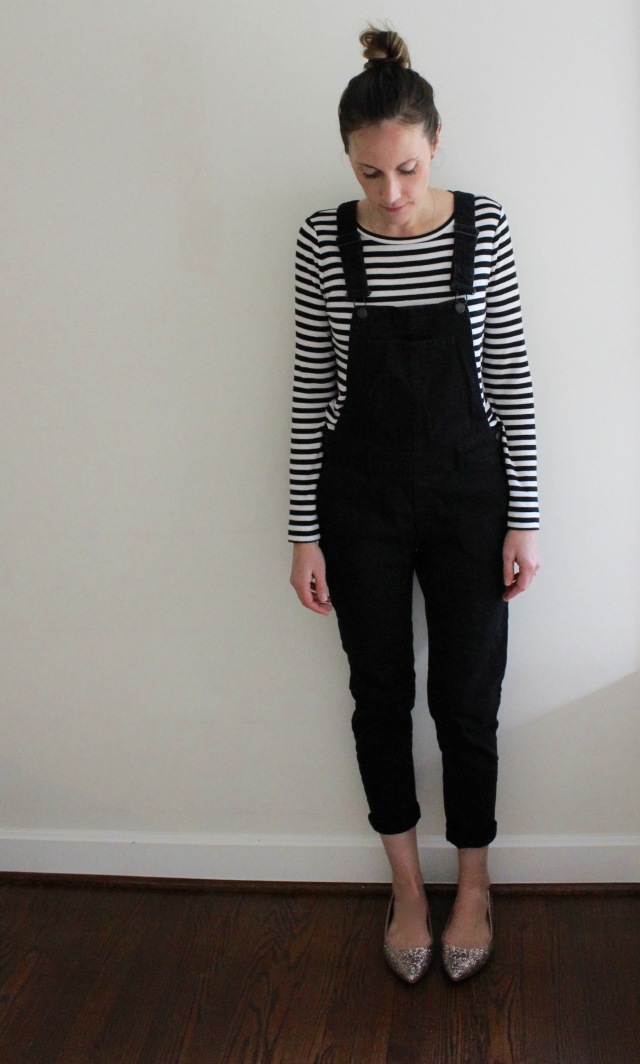
They are fitted and slightly tapered with a little stretch. I love the black – I’m finding it super fun to pair them with stripes, denim, and plaid. Next up will be animal print and florals.
To dress them up, I can cuff the bottoms and pop on a pair of booties. The versatility is just about endless. The best part of wearing overalls at this point is that I can bend down to pick up the toys, pick up my kids, grab the groceries, etc., and I don’t have to worry about pulling my jeans or pants up. Overalls have magical built in suspenders. It’s a work outfit for hard working ladies.
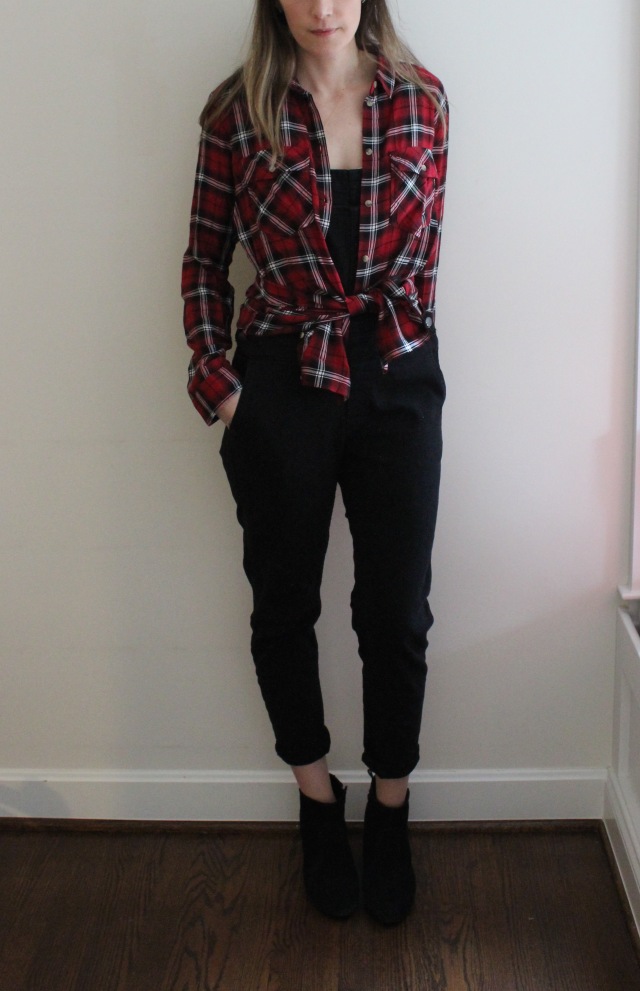
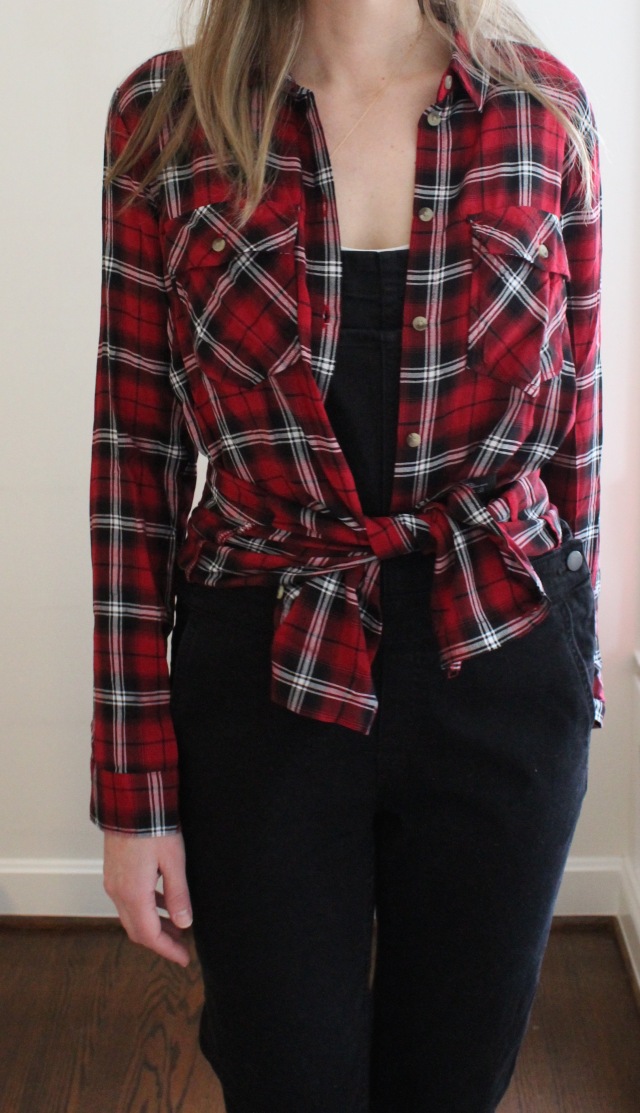
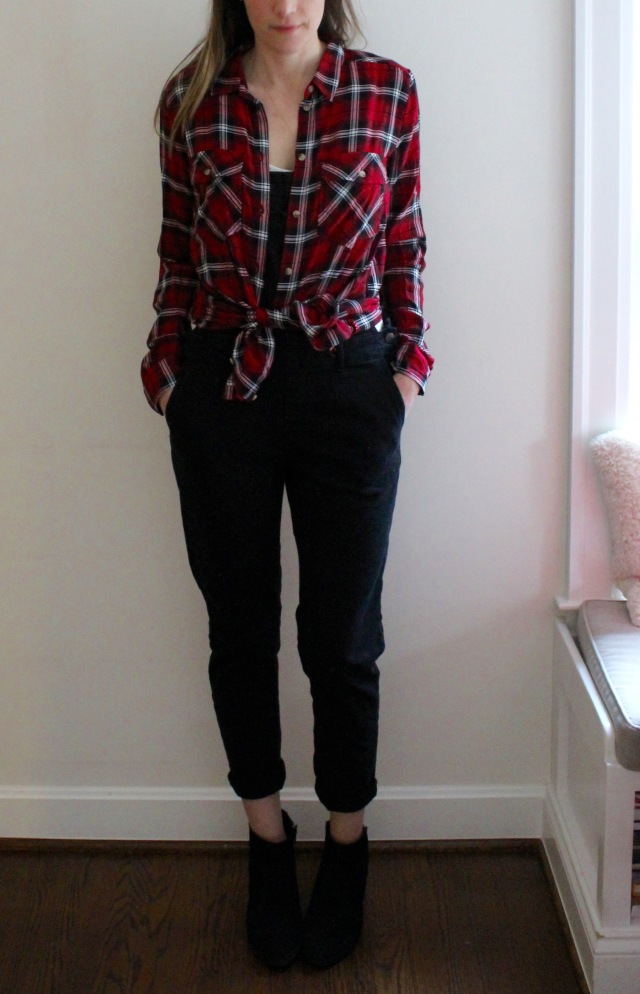
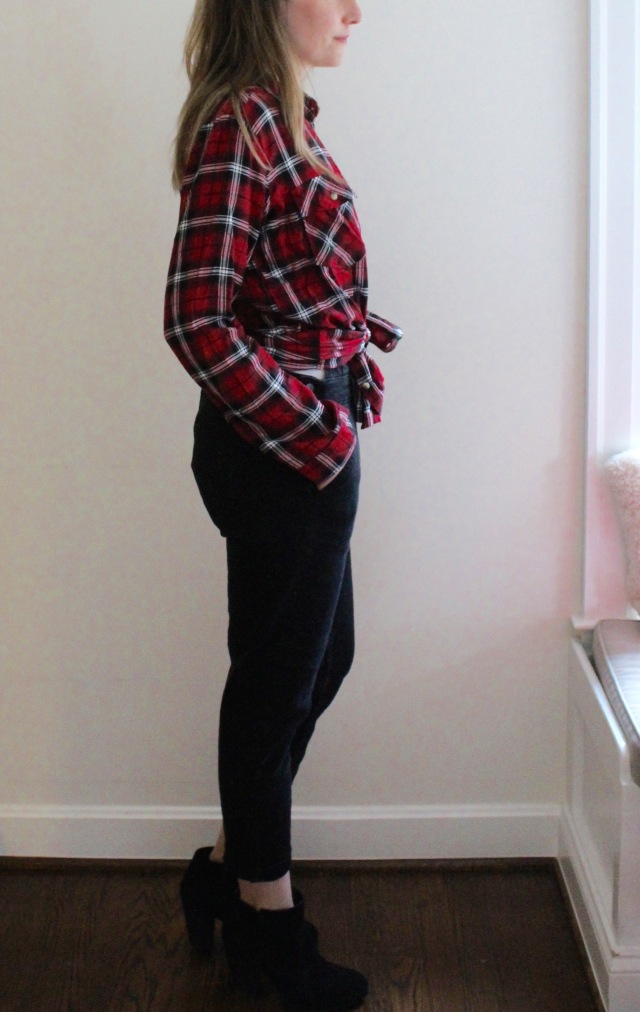
If you are ready to try a pair, which I highly recommend you do, head here. Shirt options:
striped long sleeve tee // denim shirt // plaid shirt // floral tee // leopard print shirt // solid tee
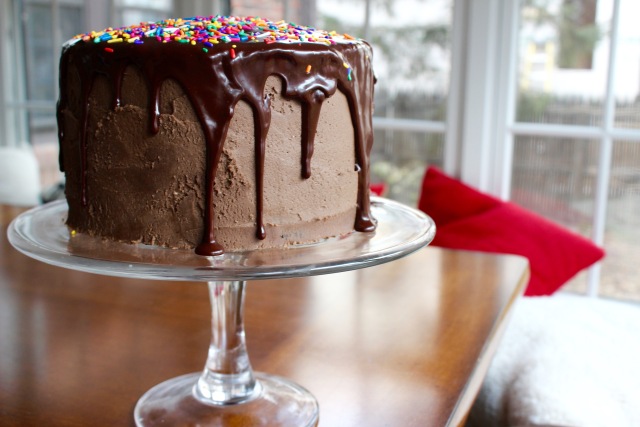
Do you like chocolate? Do you want the ultimate chocolatiest chocolatey chocolate cake as in chocolate on chocolate on chocolate? Here it is.
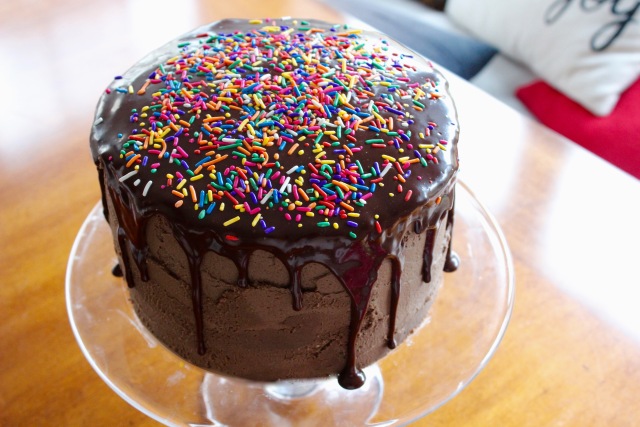
It is tall, dark, rich and handsome. I mean delicious. Well it is handsome too, and if I weren’t already married I would consider marrying this cake. But that would be silly, right? NO.
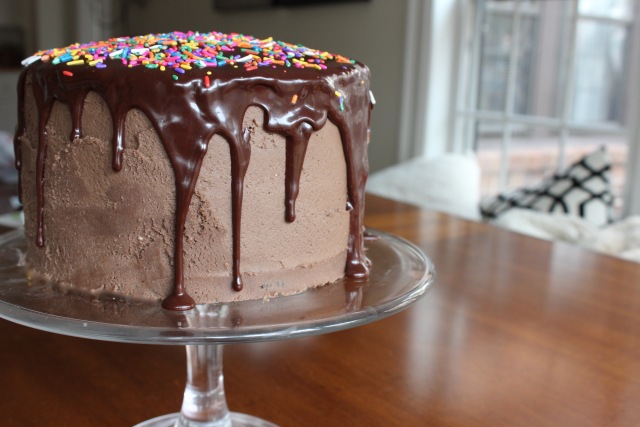
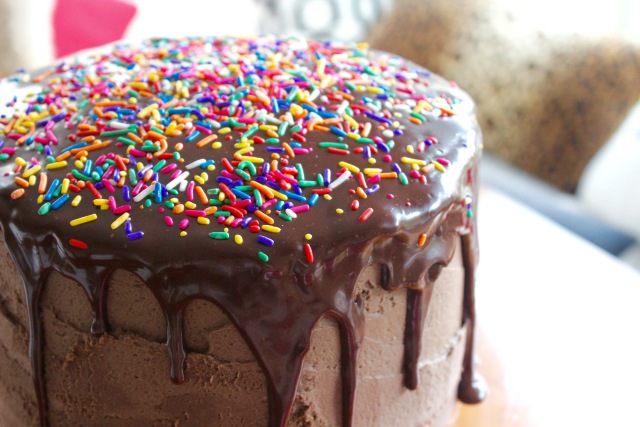
For this cake I use Hershey’s Special Dark cocoa powder. In the description of the cocoa, Hershey’s actually uses the words “premium” and “sophisticated.” It’s like the Chanel of cocoa only its under $6 and you can buy it at your local grocery store. It does not exponentially increase in value sitting on your shelf (and why would you leave it sitting on your shelf?!), but otherwise it is in the same category. There are four layers of dark chocolate cake with a smooth and creamy milk chocolate frosting, but because that just isn’t enough chocolate, it is then glazed with a dark chocolate ganache.
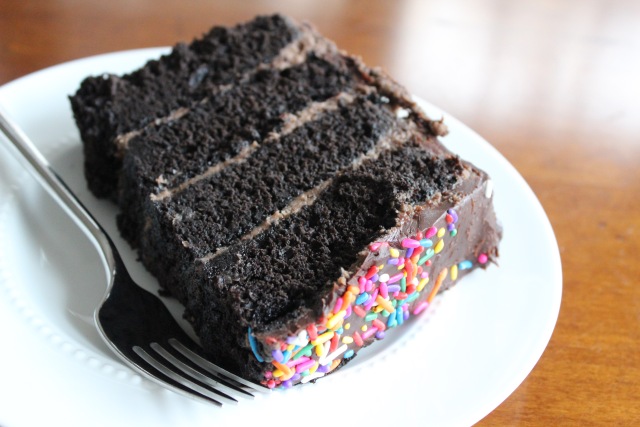
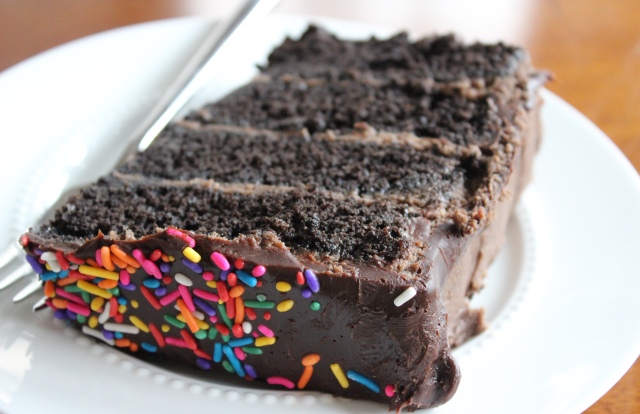
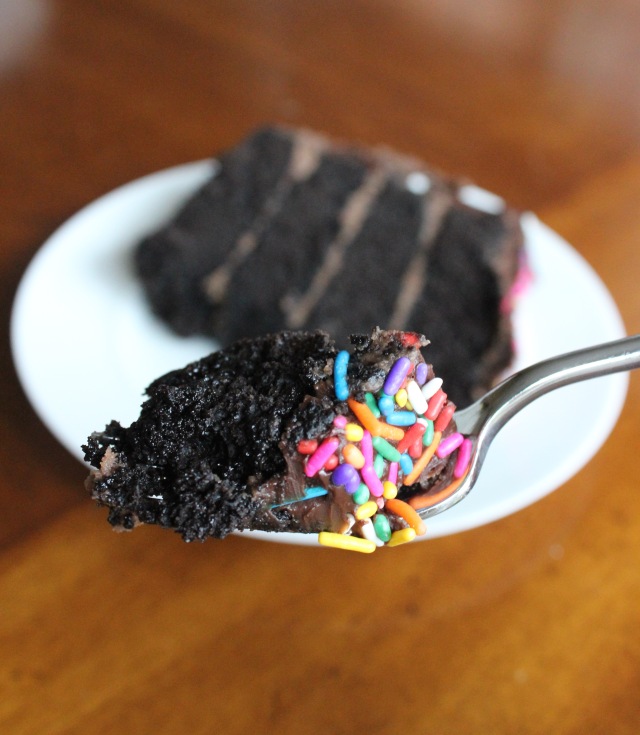
So if you have a birthday coming up, or need a dessert for Valentine’s Day, or finished all your errands (yay! reason to celebrate!) I recommend you give this cake a whirl.
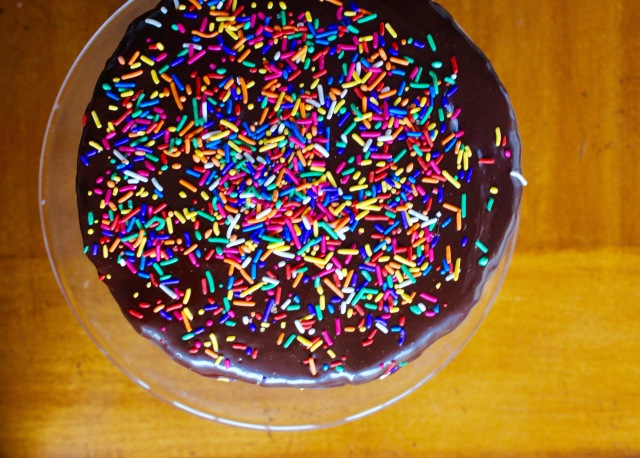
Chocolate Cake with Chocolate Frosting and Chocolate Ganache…with sprinkles
Chocolate Cake
Pre-heat oven to 350 degrees. Line 4 8″ round cake pans with parchment paper and spray with non-stick spray (if you do not have 4 cake pans, grease two and bake in two batches). In a medium bowl, sift together flour, cocoa, baking soda, baking powder and salt. In a large mixing bowl cream butter and sugars until light and fluffy. Add eggs, yolks and vanilla, beating until combined. Add buttermilk and mix again, scraping down bowl with a rubber spatula as needed. Add flour and cocoa mixture and beat until just combined. Do not over mix! Pour evenly (layers will be thinnish) into 4 pans. Bake for 25-35 minutes or until a toothpick inserted in the center comes out clean. Let cakes cool for 10 minutes, then remove from pans and place on a wire rack to finish cooling.
Chocolate Frosting
In a medium bowl, cream the butter. Combine sugar and cocoa, and slowly add to the butter. Add 4 tablespoons milk, mixing until combined, then whipping until desired consistency is reached, adding more milk as necessary. You want a light and fluffy frosting.
To assemble, start by taking four rectangular pieces of wax paper and lay on cake stand or plate in a circle (there will be no wax paper in the center). This is my trick so when you frost the cakes, the extra frosting lands on the wax paper that you simply remove when you are done. Your cake plate remains clean.
Place one cake layer on wax papers. Dollop a healthy 1/2 cup (or slightly more) frosting on top. Spread evenly and over to sides. Add second and third layers, and repeat. Finish with final layer. Place rest of frosting on top and spread down sides. Once cake is frosted, place in refrigerator for 30 minutes.
Chocolate Ganache
Place chocolate chips in a medium glass mixing bowl. Pour heavy whipping cream into a liquid (glass) measuring cup. Microwave until boiling. Carefully remove from microwave and pour over chocolate chips. Cover with plastic wrap and let sit for 5-7 minutes. Remove plastic wrap and whisk until glossy and smooth. Let sit for another 2 minutes, then pour over cake, letting ganache drip down the sides. Top with sprinkles and ENJOY!