Vegan Peanut Butter Cookie Dough Ice Cream

IMG_9498.jpg

On a recent stretch of 90-something degree days I found myself craving ice cream around the clock. If I could have brought myself to eat ice cream for breakfast, I probably would have (but I have a teeny tiny bit of will power). Since I didn’t want to eat real deal ice cream several times a day, I thought I would research vegan options and use a little coconut milk because its a little healthier, right? Right?! At least it made me feel better about indulging more often than normal in ice cream bliss.

IMG_9508

Visions of 50 different ice cream flavors danced in my head, but this option stood out. It had me at cookie dough and sealed the deal with peanut butter. Of course making ice cream takes a little a lot prep work, so you aren’t going to be able to eat it immediately. You may need to freeze your ice cream bowl, if that is the type of maker you have or purchase. You will need to soak the cashews for at least 6 hours or overnight and chill the cream base. Once you make the ice cream, it needs to harden a little in the freezer. It’s a process, but once you have the cone you’ve been dreaming about, it’s all worth it. Just keep that in mind and anticipate a hot summer night with the wind in the trees and a waffle cone in your hand with the ice cream you churned (at the press of a button or move of a lever).

*True story – I was given an ice cream bowl attachment for my Kitchen Aid stand mixer at one of my showers 6 YEARS AGO and never broke it out of the box. It seemed like one of those really fun things to scan for my bridal registry, but since we lived in a smallish apartment, the ice cream maker was stored at my parent’s until we moved into a house. Fast forward to now when I realized I had it hidden away in a cabinet and should probably give it a go. If you are looking for ice cream maker options, here are my top picks. My Kitchen Aid attachment is not on there. It refused to work after two batches and I still haven’t figured out why. An all in one machine seems like a much better option and they aren’t too pricey, but I’ve listed a splurge maker as well.

ice cream maker 1 // ice cream maker 2 // ice cream maker 3 // old fashioned ice cream maker

Vegan Peanut Butter Chocolate Chip Cookie Dough Ice Cream

for the ice cream:

  • 1 1/4 cups raw cashews, soaked overnight (or at least 6 hours), then drained
  • 1/4 cup brown sugar
  • 1/4 cup maple syrup
  • 1 15-ounce can full fat coconut milk (reserve 2 tablespoons for cookie dough)
  • 2 tablespoons coconut oil, melted
  • 1 teaspoon pure vanilla extract
for the cookie dough:
  • 3 tablespoons vegan butter (such as earth’s balance soy sticks)
  • 1/2 cup creamy peanut butter
  • 1/2 cup brown sugar
  • 1 teaspoon pure vanilla extract
  • 3/4 cup unbleached all purpose flour
  • 1/2 cup dairy free mini chocolate chips (I used Enjoy Life chips)
  • About 1-2 tablespoons coconut milk
How To:
Very important! The night before follow these two steps:
1. Place your ice cream churning bowl in the freezer to properly chill (according to manufacturer’s instructions) and soak your cashews (cover with about an inch of water). Drain before proceeding with recipe.
2. Add all ice cream ingredients to blender and blend until creamy and smooth using the puree setting. I used my ninja and it worked great. Process through a fine mesh strainer into a glass bowl to get rid of any cashew bits or grains. This helps to make the ice cream super smooth. Chill the mixture a few hours or overnight.
Add the chilled mixture to your churning bowl and and process (again, according to manufacturer’s instructions) anywhere from 20 – 45 minutes. While it is churning, make the cookie dough (keeping an eye on your mixture – once it looks like soft-serve it is ready!)
For cookie dough, use an electric mixer to combine vegan butter, peanut butter, brown sugar and vanilla in a medium bowl. Add the flour a few tablespoons at a time until the dough becomes thick and a little crumbly. Add coconut milk to add a little moisture and to help it stick together. Add chocolate chips and stir until dispersed. Freeze (chill) for a bit if you want the cookie dough to remain in chunks in your ice cream, otherwise you can keep it on the counter until ready to add.
Once the ice cream is thick like soft serve, add in 1/2 to 3/4 cup cookie dough, crumbling into chunks as you add. Smooth ice cream into a loaf pan lined with parchment. Cover well and freeze for a few hours until firm. When ready to serve, set out for about 15 minutes to soften. I prefer to serve my cookie dough ice cream on waffle cones with a sprinkle of more cookie dough. Best when fresh but will keep in your freezer for 7-10 days.

Soft, Dreamy PB Cookies

IMG_3062

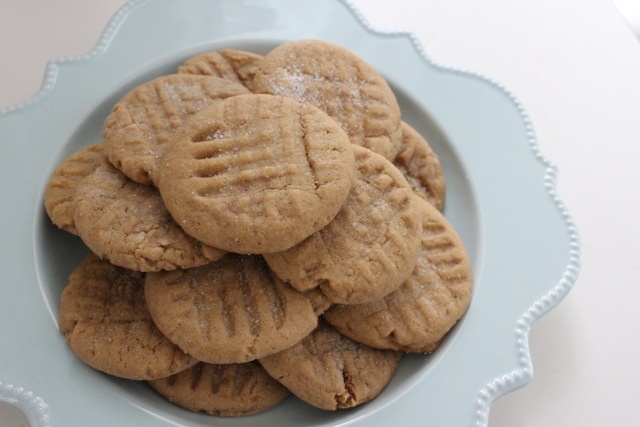
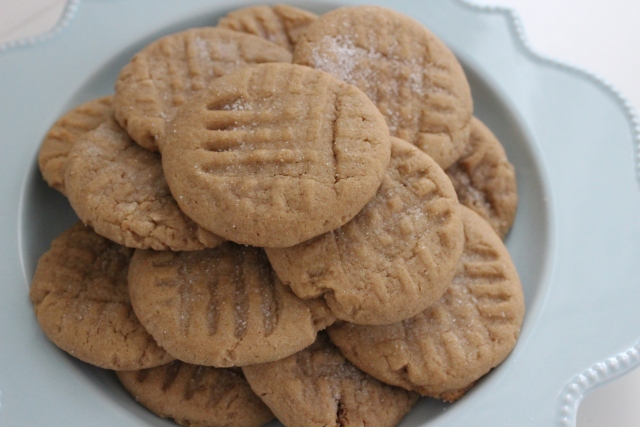
Ever feel like a cookie will make everything better? Yes? Ok good, me too. A batch of these heavenly peanut butter cookies have the ability to not only make everything better, but they make the future bright too. Because you know there are more to devour.

IMG_3064

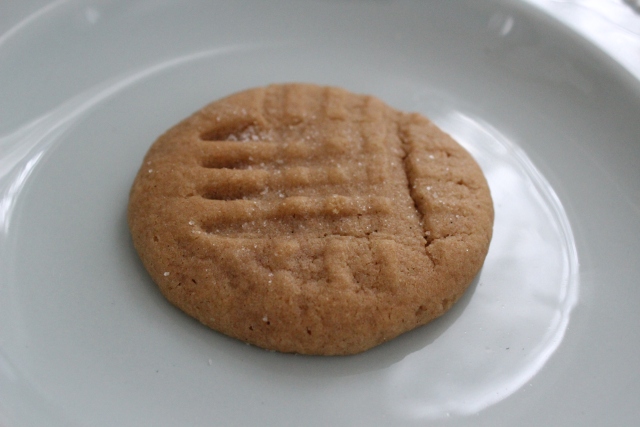
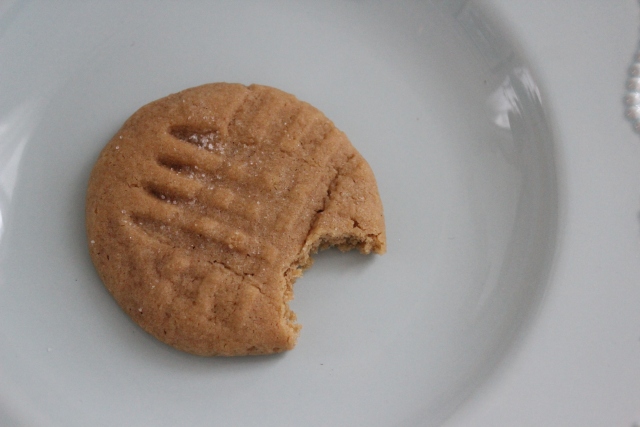
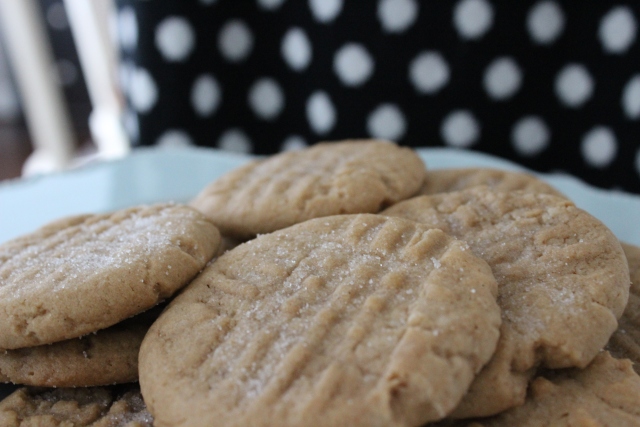
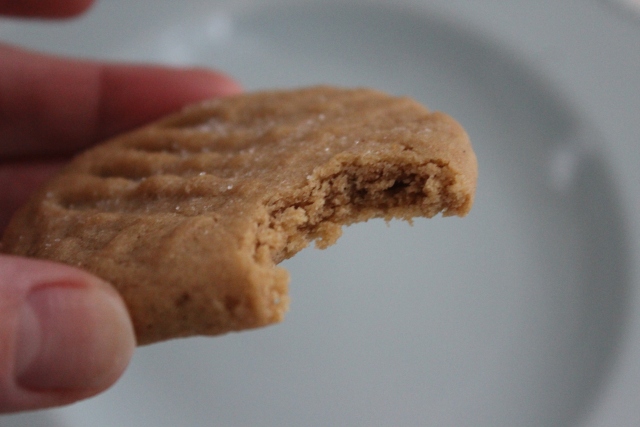
They are super soft, chewy and rich with peanut butter deliciousness. A perfect match for a glass of cold milk.

IMG_3069

IMG_3072.JPG

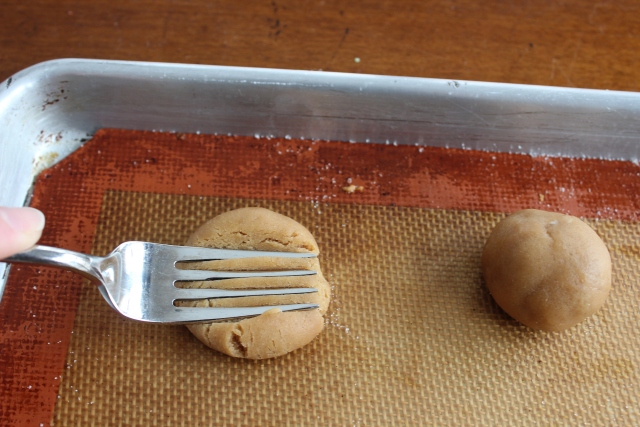
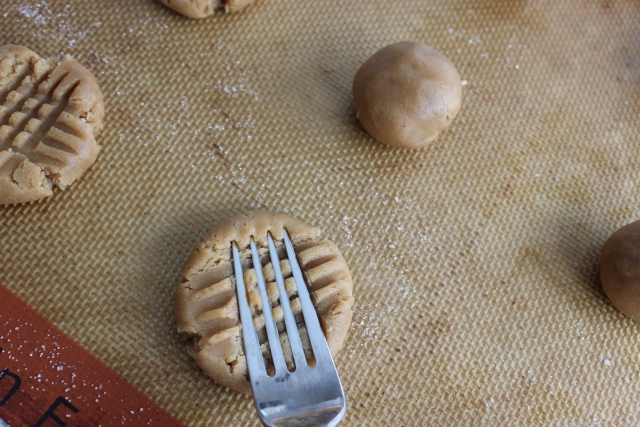
I need to stress the importance of doing the criss cross pattern. You have to. It’s how you know it’s a peanut butter cookie and is simple/fun to do. Just take the tines of a fork and press into the dough once, turn fork and press again.

IMG_3168IMG_3175IMG_3190IMG_3192

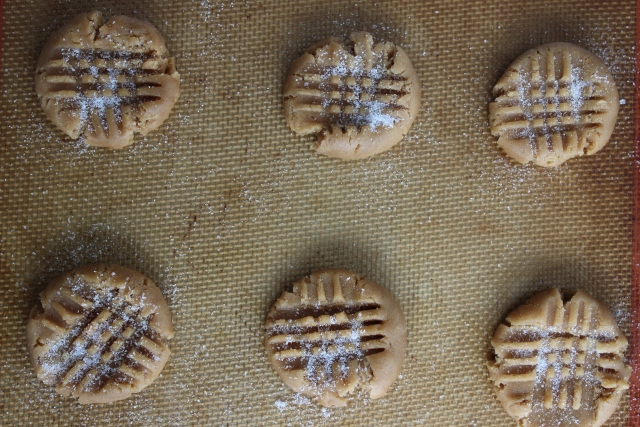
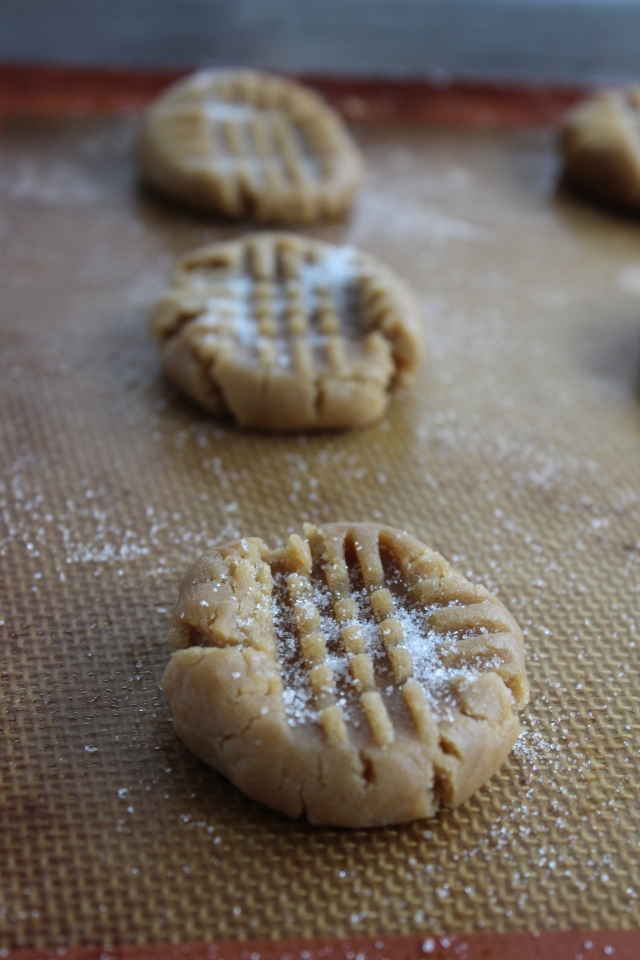
Sprinkle with some regular good ol’ granulated sugar, bake, and eat. YUM.

IMG_3076

IMG_3063

Note: So I accidentally bought salted peanut butter at Traders Joe’s. Apparently the normal peanut butter we all use is unsalted. As I dumped the cup into my softened butter, I licked the spoon before putting it in the sink. YUCK. Salted peanut butter tastes, well, over salted. I feared the batch ruined. In an attempt to fix it, I left out the 1/2 teaspoon salt and all was right in the world. Cookies turned out fine. This note is in case you somehow buy salted PB. If you are allergic to peanut butter, I am sure a soy nut butter would work just fine in place of regular PB.

Dreamy PB Cookies

  • 1 cup unsalted butter, softened
  • 1 cup creamy peanut butter
  • 1 cup sugar
  • 1 cup packed brown sugar
  • 1 teaspoon vanilla extract
  • 3 eggs
  • 3 3/4 cups all-purpose flour
  • 2 teaspoons baking soda
  • 1/2 teaspoon salt
  • 1/4 cup sugar, for sprinkling
Sift the flour, baking soda and salt into a medium bowl. Set aside.
In a large mixing bowl cream the butter, peanut butter and sugars. Add vanilla and eggs, one at a time, beating well after each addition.
Use a cookie scoop (whatever size you would like) to measure out balls of dough, and roll with your hands to make perfect. Place on a silpat lined cookie sheet. Press down with a fork in a criss cross pattern and sprinkle with sugar.
Preheat oven to 375 degrees and refrigerate cookies for 15-30 minutes while oven is heating. Bake cookies for 8-10 minutes. Do not over bake! Unless you like crunchy cookies. Store in an air-tight container. Makes around 2 1/2 dozen with a medium cookie scoop.